Caramel Snickerdoodle Cake
This post contains affiliate links, I earn a commission on purchases.
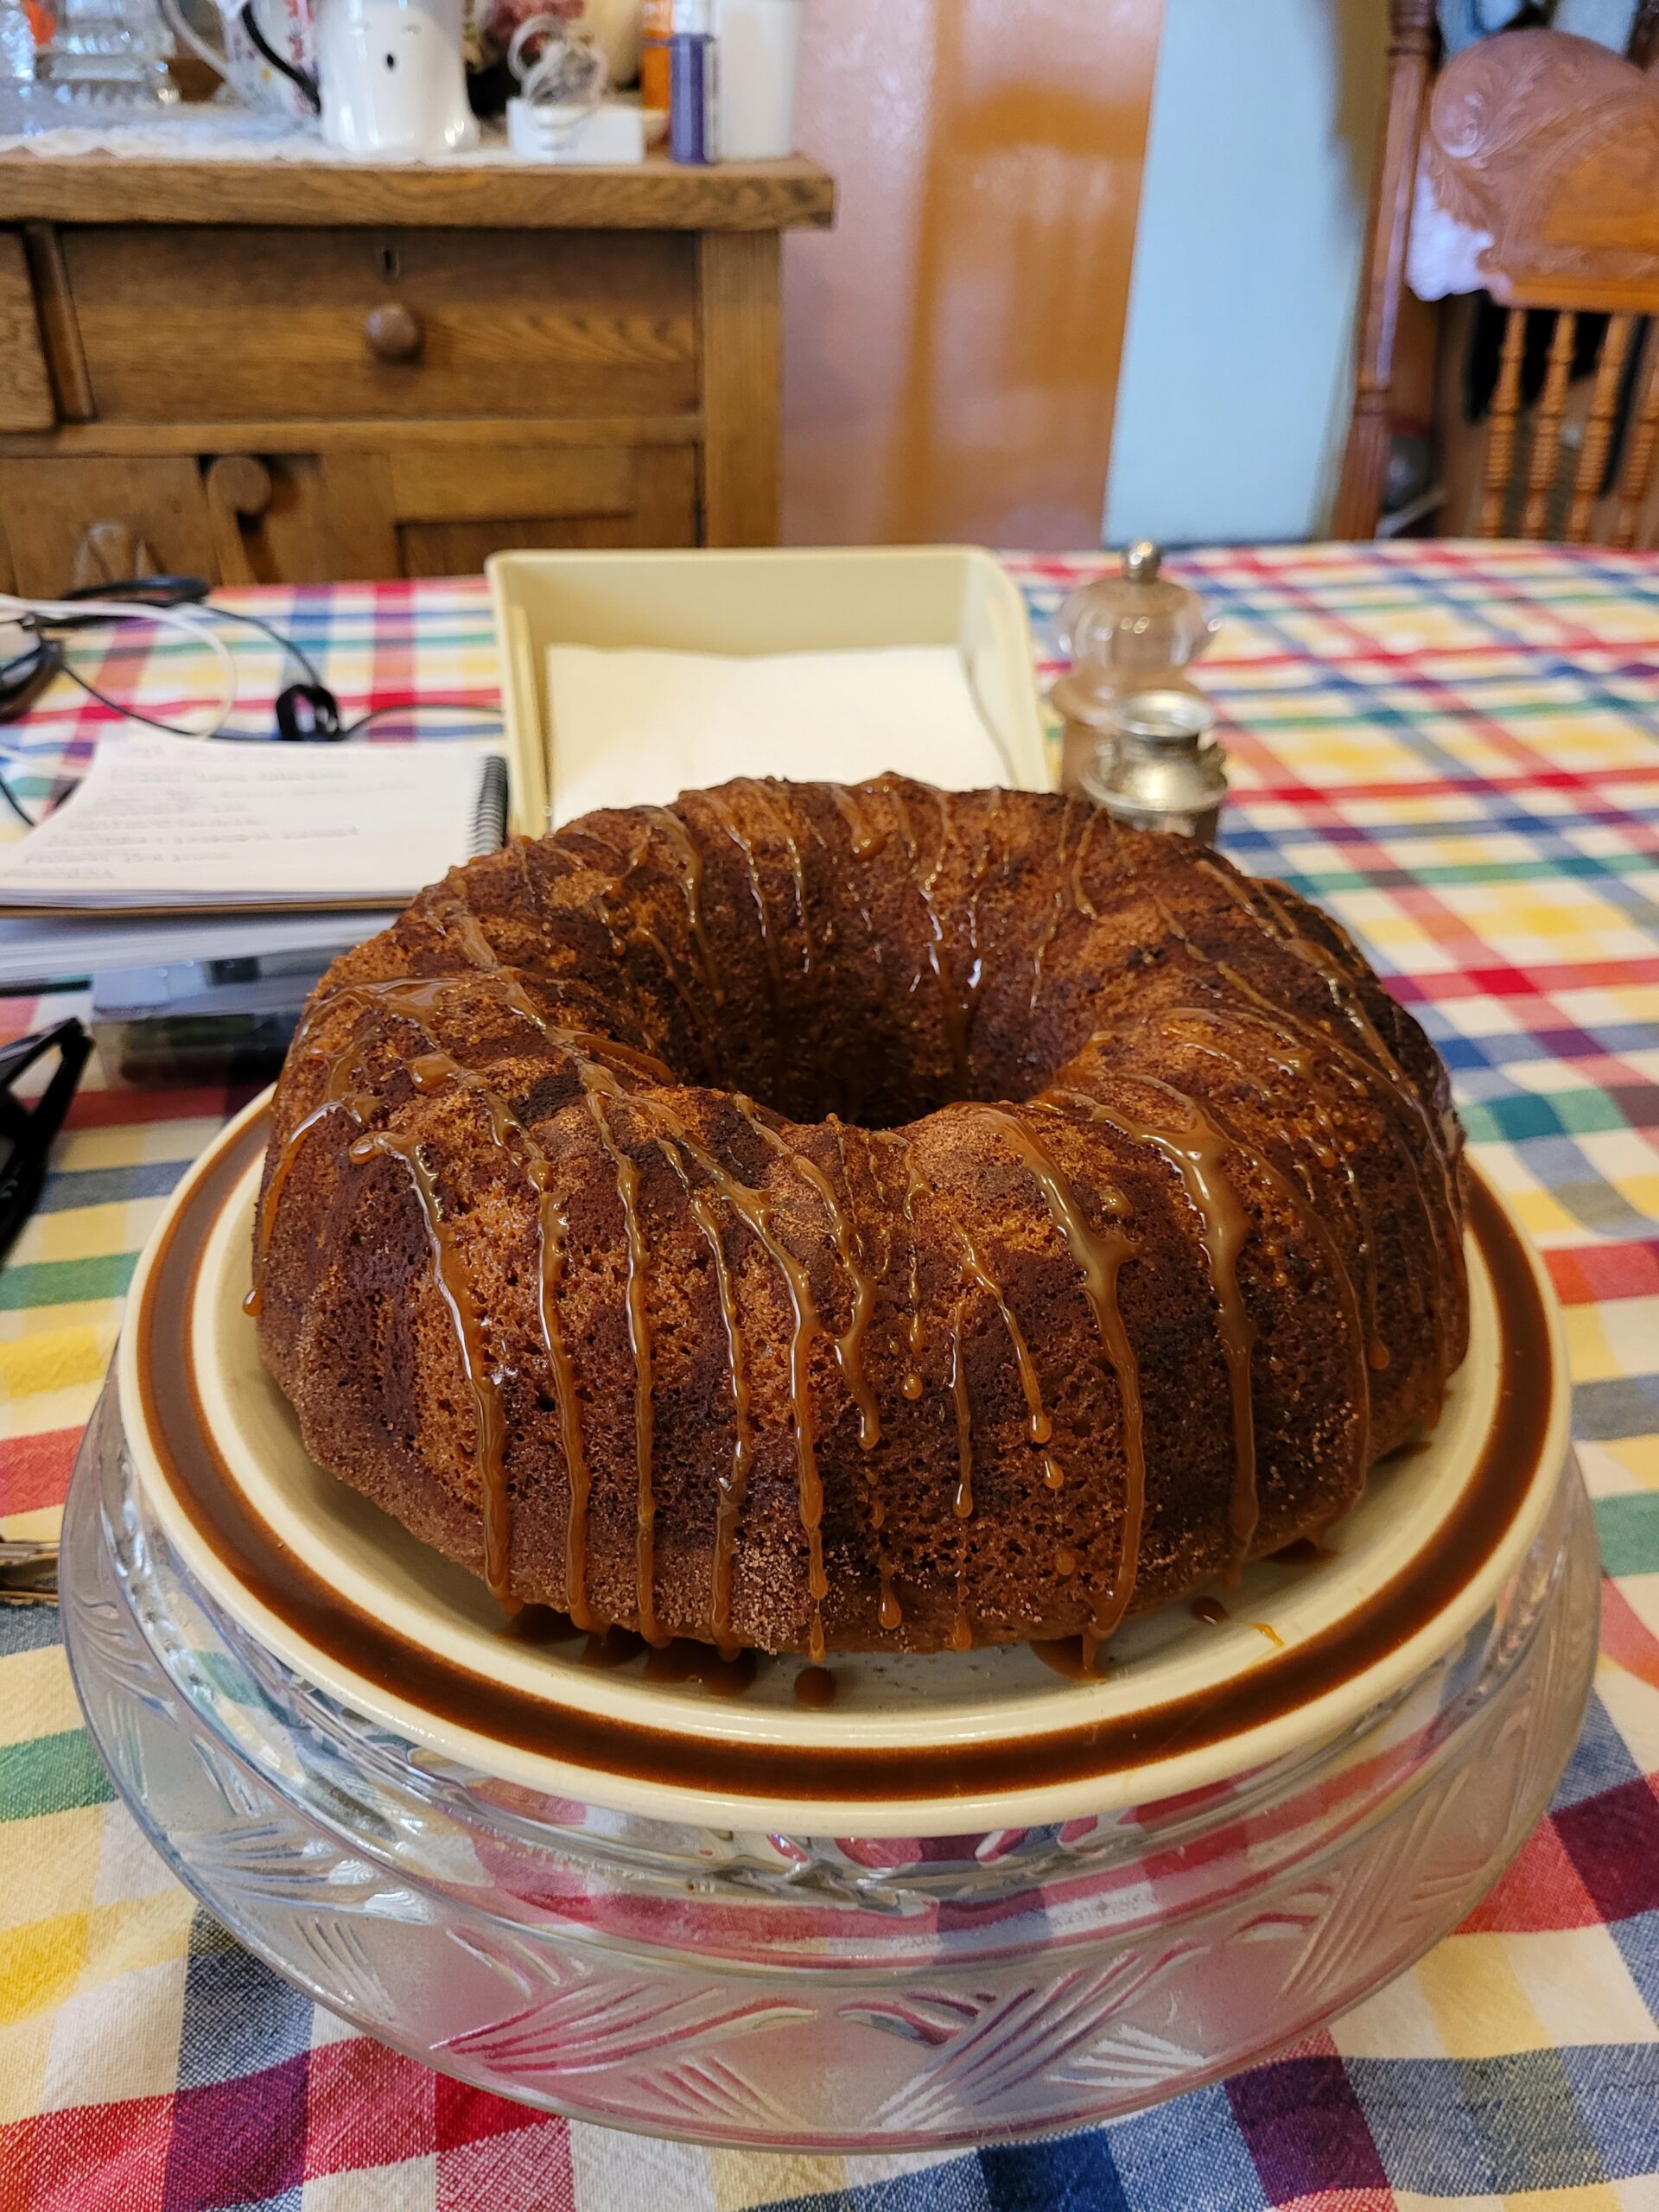
Caramel Snickerdoodle cake is a moist quick bread style cake coated in cinnamon sugar and topped with sweet caramel.
This recipe is tried and tested by good ol’ Betty Crocker herself. This joined my rotation when I was trying to find a recipe for a dessert that had the fall flavor my family wanted and the ease that is mandatory when it is still way to hot to have the oven going.
I found this amongst the pages of one of my seven million vintage cookbooks. I’m pretty sure it was a Betty Crocker Picture cook book that I had been meaning to re-bind since I found it at a thrift store. Alas here we are, it’s still falling apart at the spine. But what’re you going to do? Bake! Of course. Stains are but memories on the pages of the recipes.
Now this is not the original caramel snickerdoodle cake as it came out of the book. I have made alterations to the recipe to make it even simpler to make, without compromising the original recipe. I hope you enjoy eating this cake as much as dad-man does.

Caramel Snickerdoodle Cake
Ingredients
- 1-3/4 cups sugar plus 2 Tbsp
- 3 teaspoons ground cinnamon
- 2-1/2 cups all-purpose flour
- 2 teaspoons baking soda
- 1 teaspoon salt
- 1 can evaporated milk 5 oz
- 1 cup sour cream
- 1/2 cup butter or margarine, melted
- 1 teaspoon vanilla
- 2 eggs, beaten
- 1 jar caramel topping 8 oz
Instructions
- Preheat the oven to 350 deg Fahrenheit. Grease a 12-cup bunt pan or fluted tube pan with butter or margarine. Mix 2 tablespoons of sugar with 2 teaspoons of cinnamon in a small bowl. Sprinkle mixture over the inside of the pan, turning it to evenly coat. Shake out any excess.
- Mix the remaining 1-3/4 cups of sugar and 1 teaspoon of cinnamon, flour, baking soda and salt in a large bowl. Stir in the evaporated milk, sour cream, melted margarine/butter, vanilla and eggs into the dry ingredients until well blended. Pour batter into the prepared pan.
- Bake for 40 to 50 minutes or until a toothpick comes out clean when inserted into the center of the cake. Let the cake stand for 30 minutes and remove it from the pan. Cool completely, about an hour.
- Microwave caramel sauce according to jar instructions, and drizzle over the cooled cake.
Rum Fruitcake
This post contains affiliate links where I earn a commission on purchases.
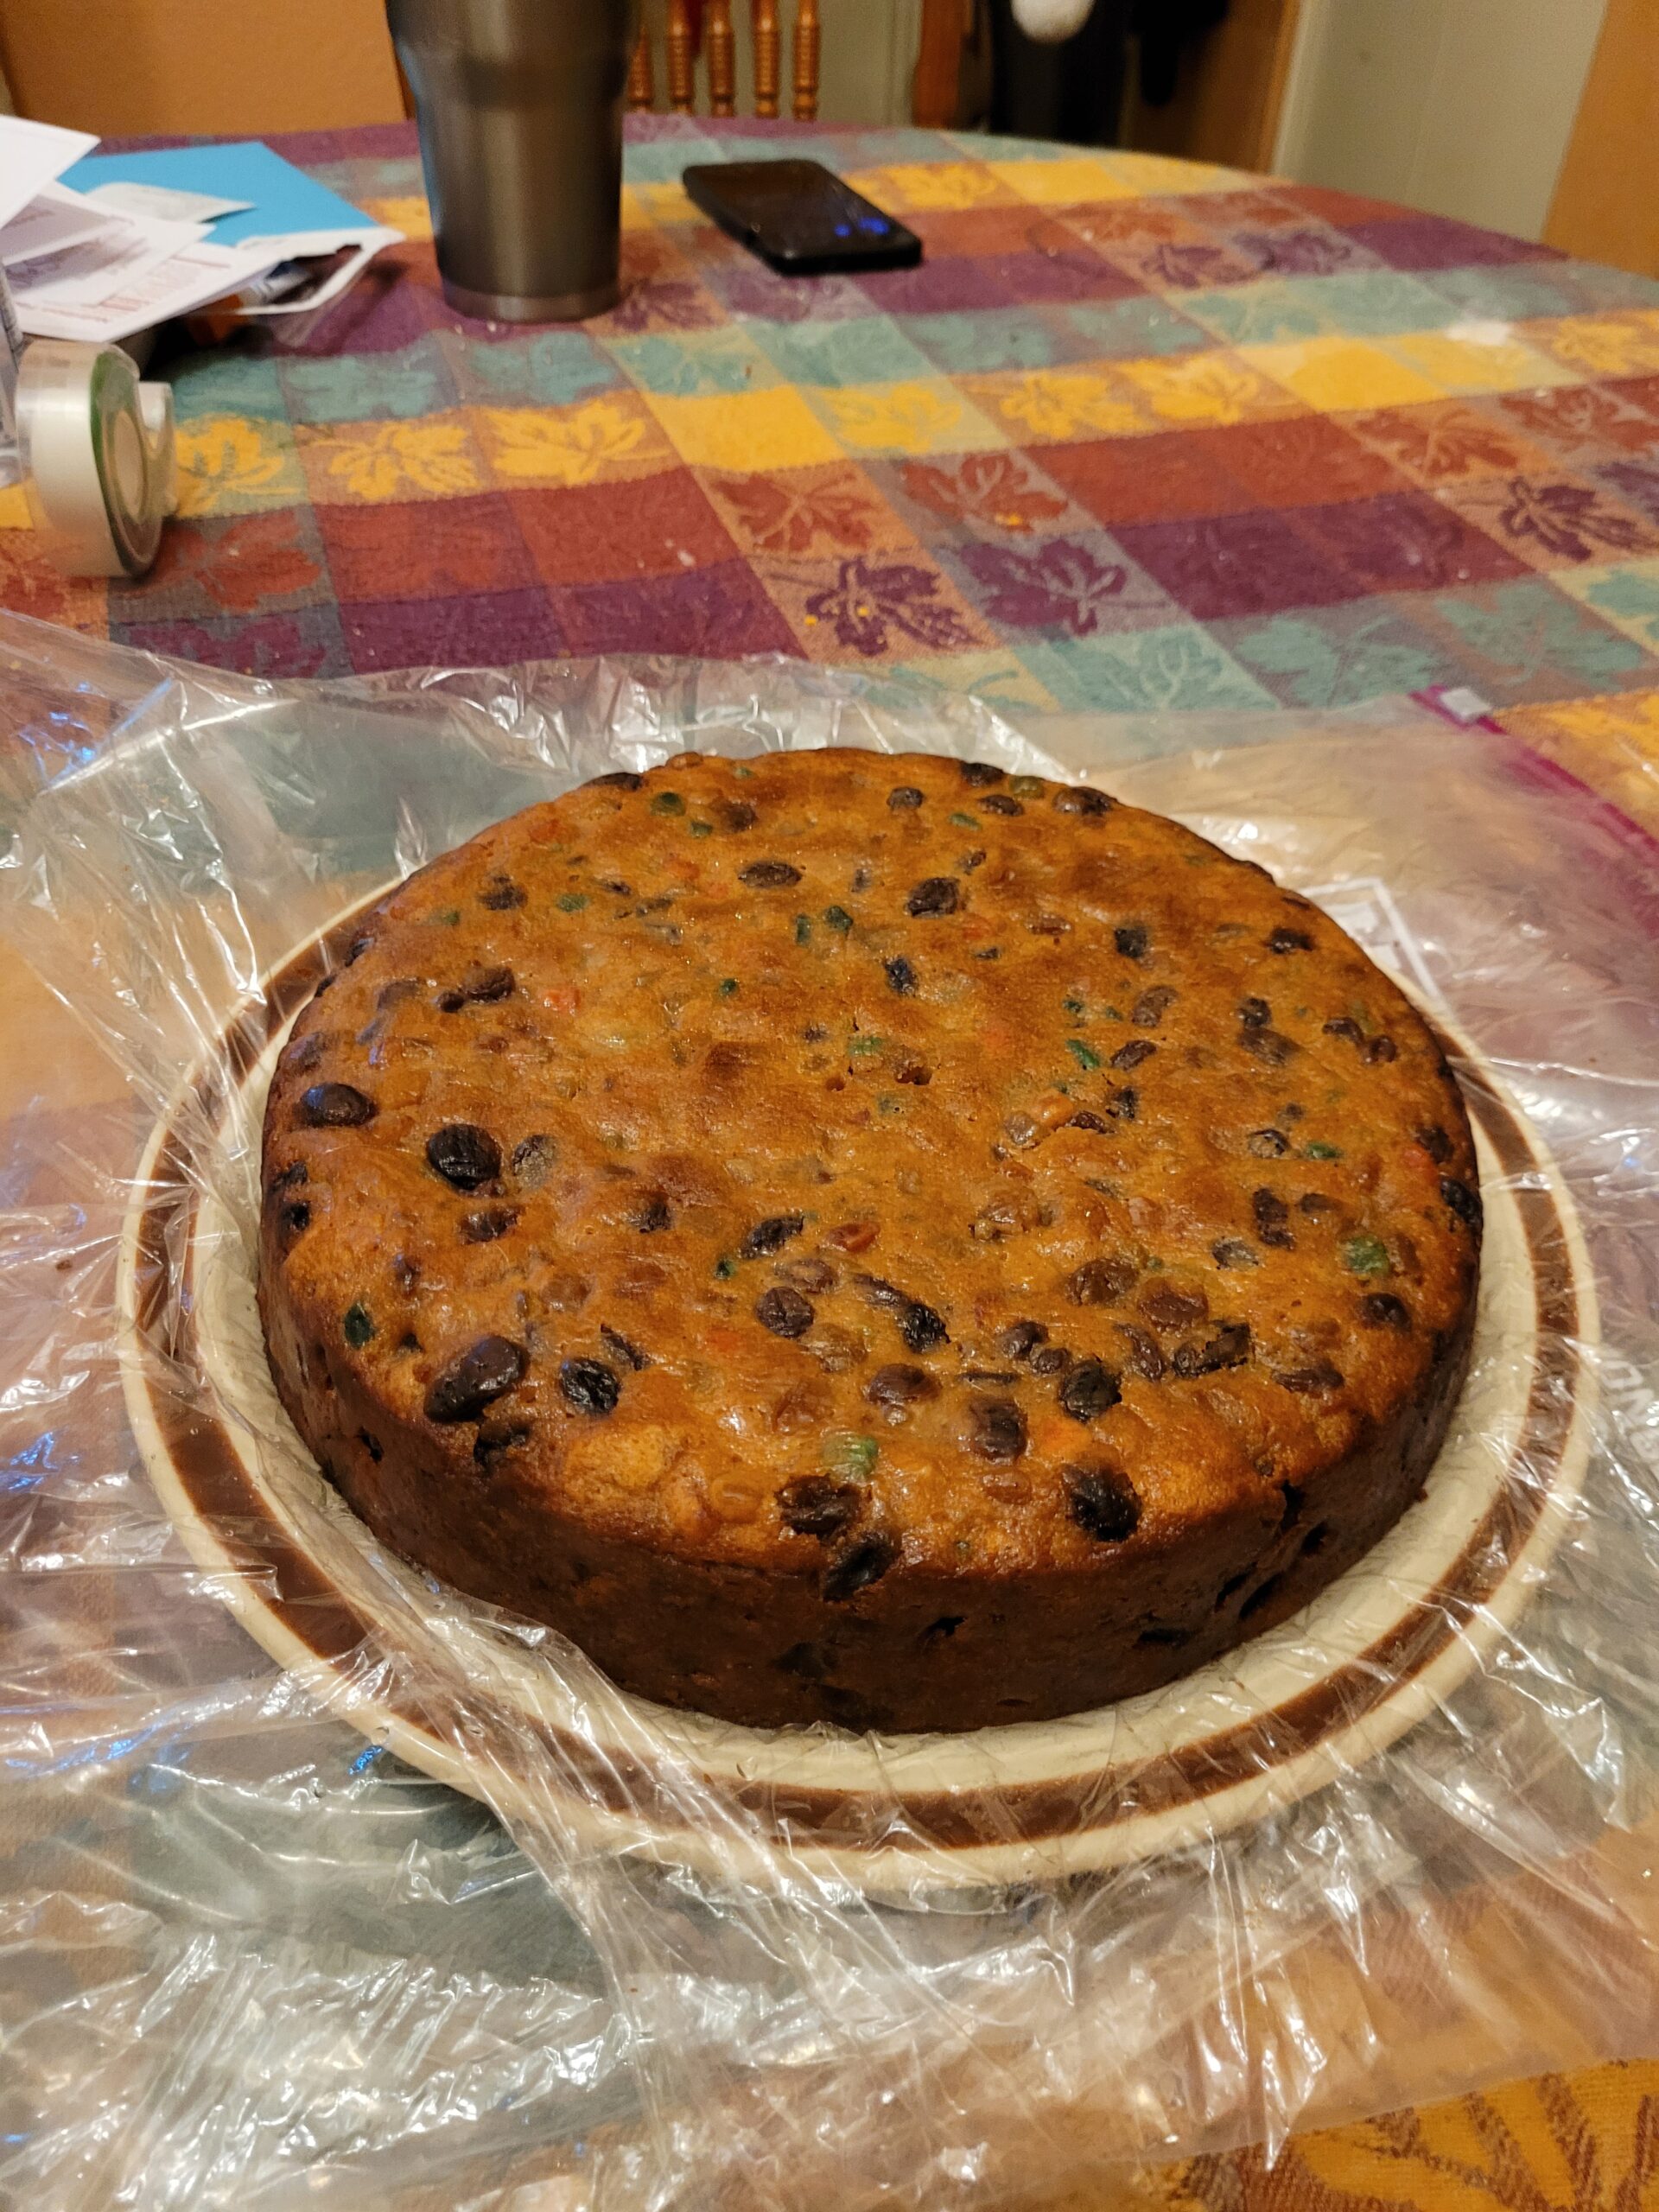
Fruitcake has to be the most polarizing dessert of the holiday season. You either love it or you hate it… my family is no different.
My dad loves it, his gaggle of sisters do not. I like it, but not like he does. He’s like the old man from A Christmas Story with a turkey.
The dad-man’s dad (Pop-pop Stephens) used to make fruitcake and when I called one of dad-man’s sisters for the recipe, she put on pop-pop’s wife who, and I quote, “It was a poundcake from a box mixed with a container of fruit and all the liquid replaced with brandy and rum with some spices, Linda.” Then my aunt went on to explain that it took a bottle of brandy, a bottle of rum and the month of November. Evidently, he’d pour a like a cup (a rocks glass) of each on a 9 inch round cake and flip the cake back and forth every other day.
Needless to say, I don’t use that recipe. I altered that recipe and mixed it with two or three other vintage recipes I found online and in my vintage cookbooks. The one thing I do have in common with my pop-pop is letting it sit for over a month and flipping it back and forth.
I totally understand if you don’t want to use rum and soak the crap out of the fruitcake. My mom-mom VV’s petite fruitcakes are my preference. Winter is a time for family, good will and love. I love giving any time of year, but Christmas baking is my holy grail. Happy Holidays and happy baking!

Rum Fruitcake
Ingredients
- 1/2 c dark raisins 3 oz
- 1/4 c golden raisins 2 oz
- 2 c fruit cake fruit mix 16 oz
- 1/3 c whole candied cherries
- 1/2 lemon zested and juiced
- 1/2 c spiced rum* 3 oz
- 1 c 1-1/2 all purpose flour
- 3/4 t baking powder
- 1/2 t cinnamon
- 1/4 t nutmeg
- 1/4 t ginger
- 1/4 t salt
- 1/2 c butter room temperature
- 3/4 c brown sugar
- 2 large eggs room temperature
Instructions
- Combine candied fruits with lemon zest and juice. Add ⅔ cup of rum and toss to coat the fruit with liquor. Cover bowl and let it sit overnight.
- Preheat the oven to 350 degrees. Grease and flour the bottom and sides of a 9 in springform pan; line pan with a parchment round.
- Sift together flour, baking powder, cinnamon, nutmeg, ginger, and salt. Set aside.
- In a large stand mixer mixing bowl, cream butter and sugar until light and fluffy. Scrape down the sides of the bowl and beater. Add eggs, one at a time. Mix until combined, scrape sides of bowl and beater.
- With the mixer on low, add the dry ingredients in 3 batches and mix until combined. Fold in fruit and liquid.
- Pour batter into the prepared pan and spread out in an even layer. Bake for 55 minutes, or until a toothpick comes out clean when poked into the center. As soon as the pan is removed from the oven pour ¼ c of rum over the top of the cake.
- Cool the cake to room temperature before removing it from the pan. Wrap cake in two layers of plastic wrap and set aside at room temperature.
- Once a week for at least 4 weeks, unwrap the cake and generously brush the cake on all sides with more rum.
Notes
Old Fashioned Buttercream Frosting
This post contains affiliate links; I earn commission on purchases.
Buttercream frosting is one of those things that is either too sweet or it’s perfect. There is no in-between. I am no expert on the many types of buttercream frosting. But I do know what kinds of frosting I do not like: Overly sweet frosting. It always seemed to make the cake too sweet. This recipe, as I have found, is ideal for sweet cakes. It is just a basic American Buttercream.

Now it doesn’t have a story other than every time you make it, it will be slightly different.
This recipe was a two take wonder to create. I took a basic recipe I found online years ago and made little tweaks and within two tries of making it, I had it down pat.
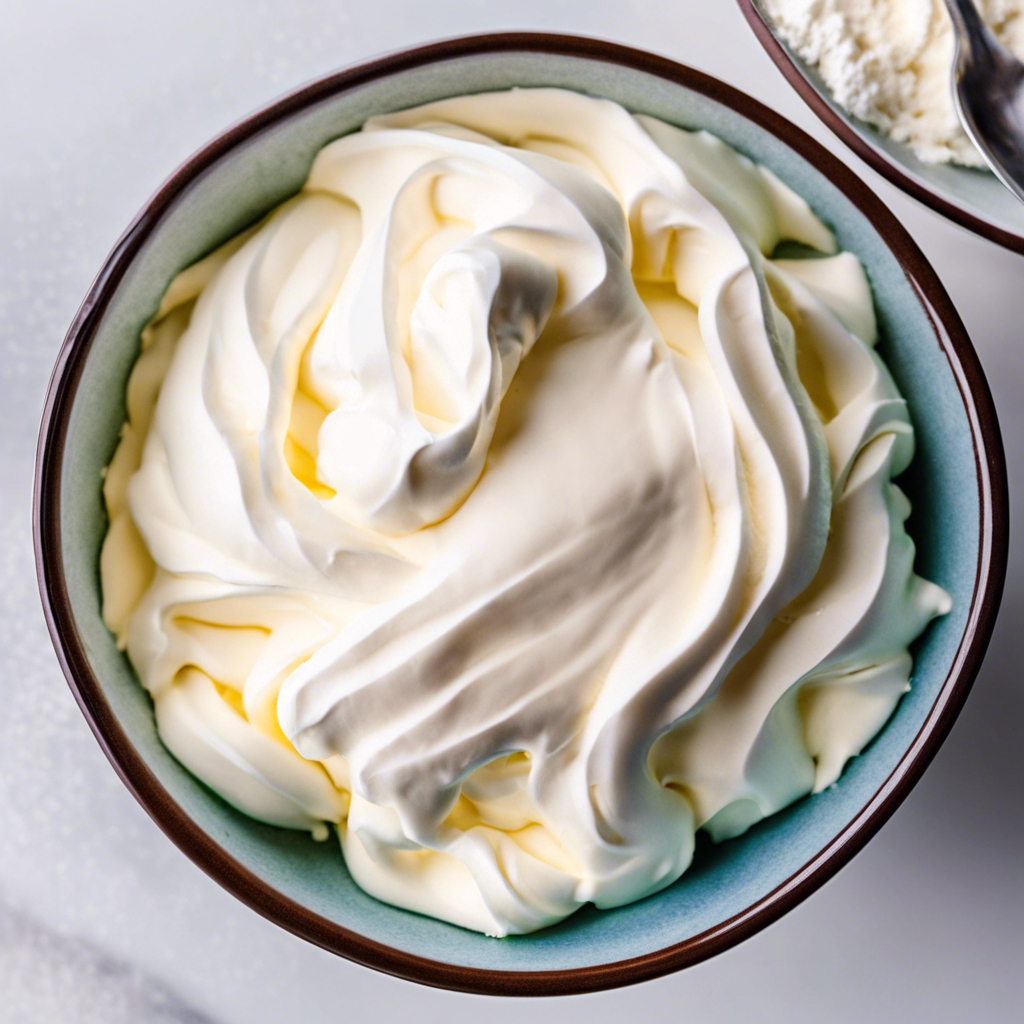
As is often the case with older recipes, it depends on the weather that’s the main secret to the perfect buttercream. But the end product should be like thick whipped cream.
This frosting recipe makes frosting cake incredibly easy as well. The fluffiness doesn’t deflate when you spread it for a layer between cakes, and it still holds its texture.
This simple, not too sweet American buttercream adds an old school flare to any confection. As someone who doesn’t enjoy the film that a lot of handmade frostings leave on the tongue, I have found that this recipe doesn’t do that unless you eat a lot of it. I especially like it on my Aunt’s hummingbird cake or my strawberry cake.

Old Fashioned Buttercream Frosting
Ingredients
- 3 sticks unsalted butter room temperature
- 6 c powdered sugar sifted
- 1/2-3/4 c heavy cream room temperature
- 1-1/2 t vanilla extract or other extract to taste
- 1/2 t salt
- Few drops food coloring optional
Instructions
- Place butter in bowl of stand mixer fixed with paddle attachment and beat on low to medium low until smooth, about 3 minutes
- Begin adding the powdered sugar, a half cup at a time keeping the mixer at the same low speed. Once about ⅓ of the sugar is incorporated, stop the mixer and scrape the bowl with a silicone spatula. Return the mixer to the same speed and add about ¼ of the cream, mixing until incorporated.
- Continue slowly mixing, repeating step 2, until most of the sugar and cream is incorporated.
- Add the vanilla and salt, mix again and add the remaining sugar and cream. Continue mixing on medium low for 5 to 10 min at least, adding the food coloring about halfway through. The frosting will be light, creamy and fluffy when it is done.
- Store frosting tightly covered at room temperature for up to 24 hrs or refrigerate it for up to a week. Bring the frosting to room temperature before using.
Burnt Sugar Cake
This Post contains affiliate links
I receive a commission on products purchased through the links in posts.

I would have never known about burnt sugar cake let alone a burnt sugar cake recipe if not for my aunt Rae. She found this broken up recipe in the depths of somewhere (who knows where). She texted me to see if I could bring her dad’s recipe and I agreed. I love a challenge. Now the question: How’s a tiny white girl supposed to remake the recipe of a Hispanic dad from the 70s? Apparently with a love of old recipes and the confidence of a four year old in a bat-man shirt.
The Story of the Burnt Sugar Cake
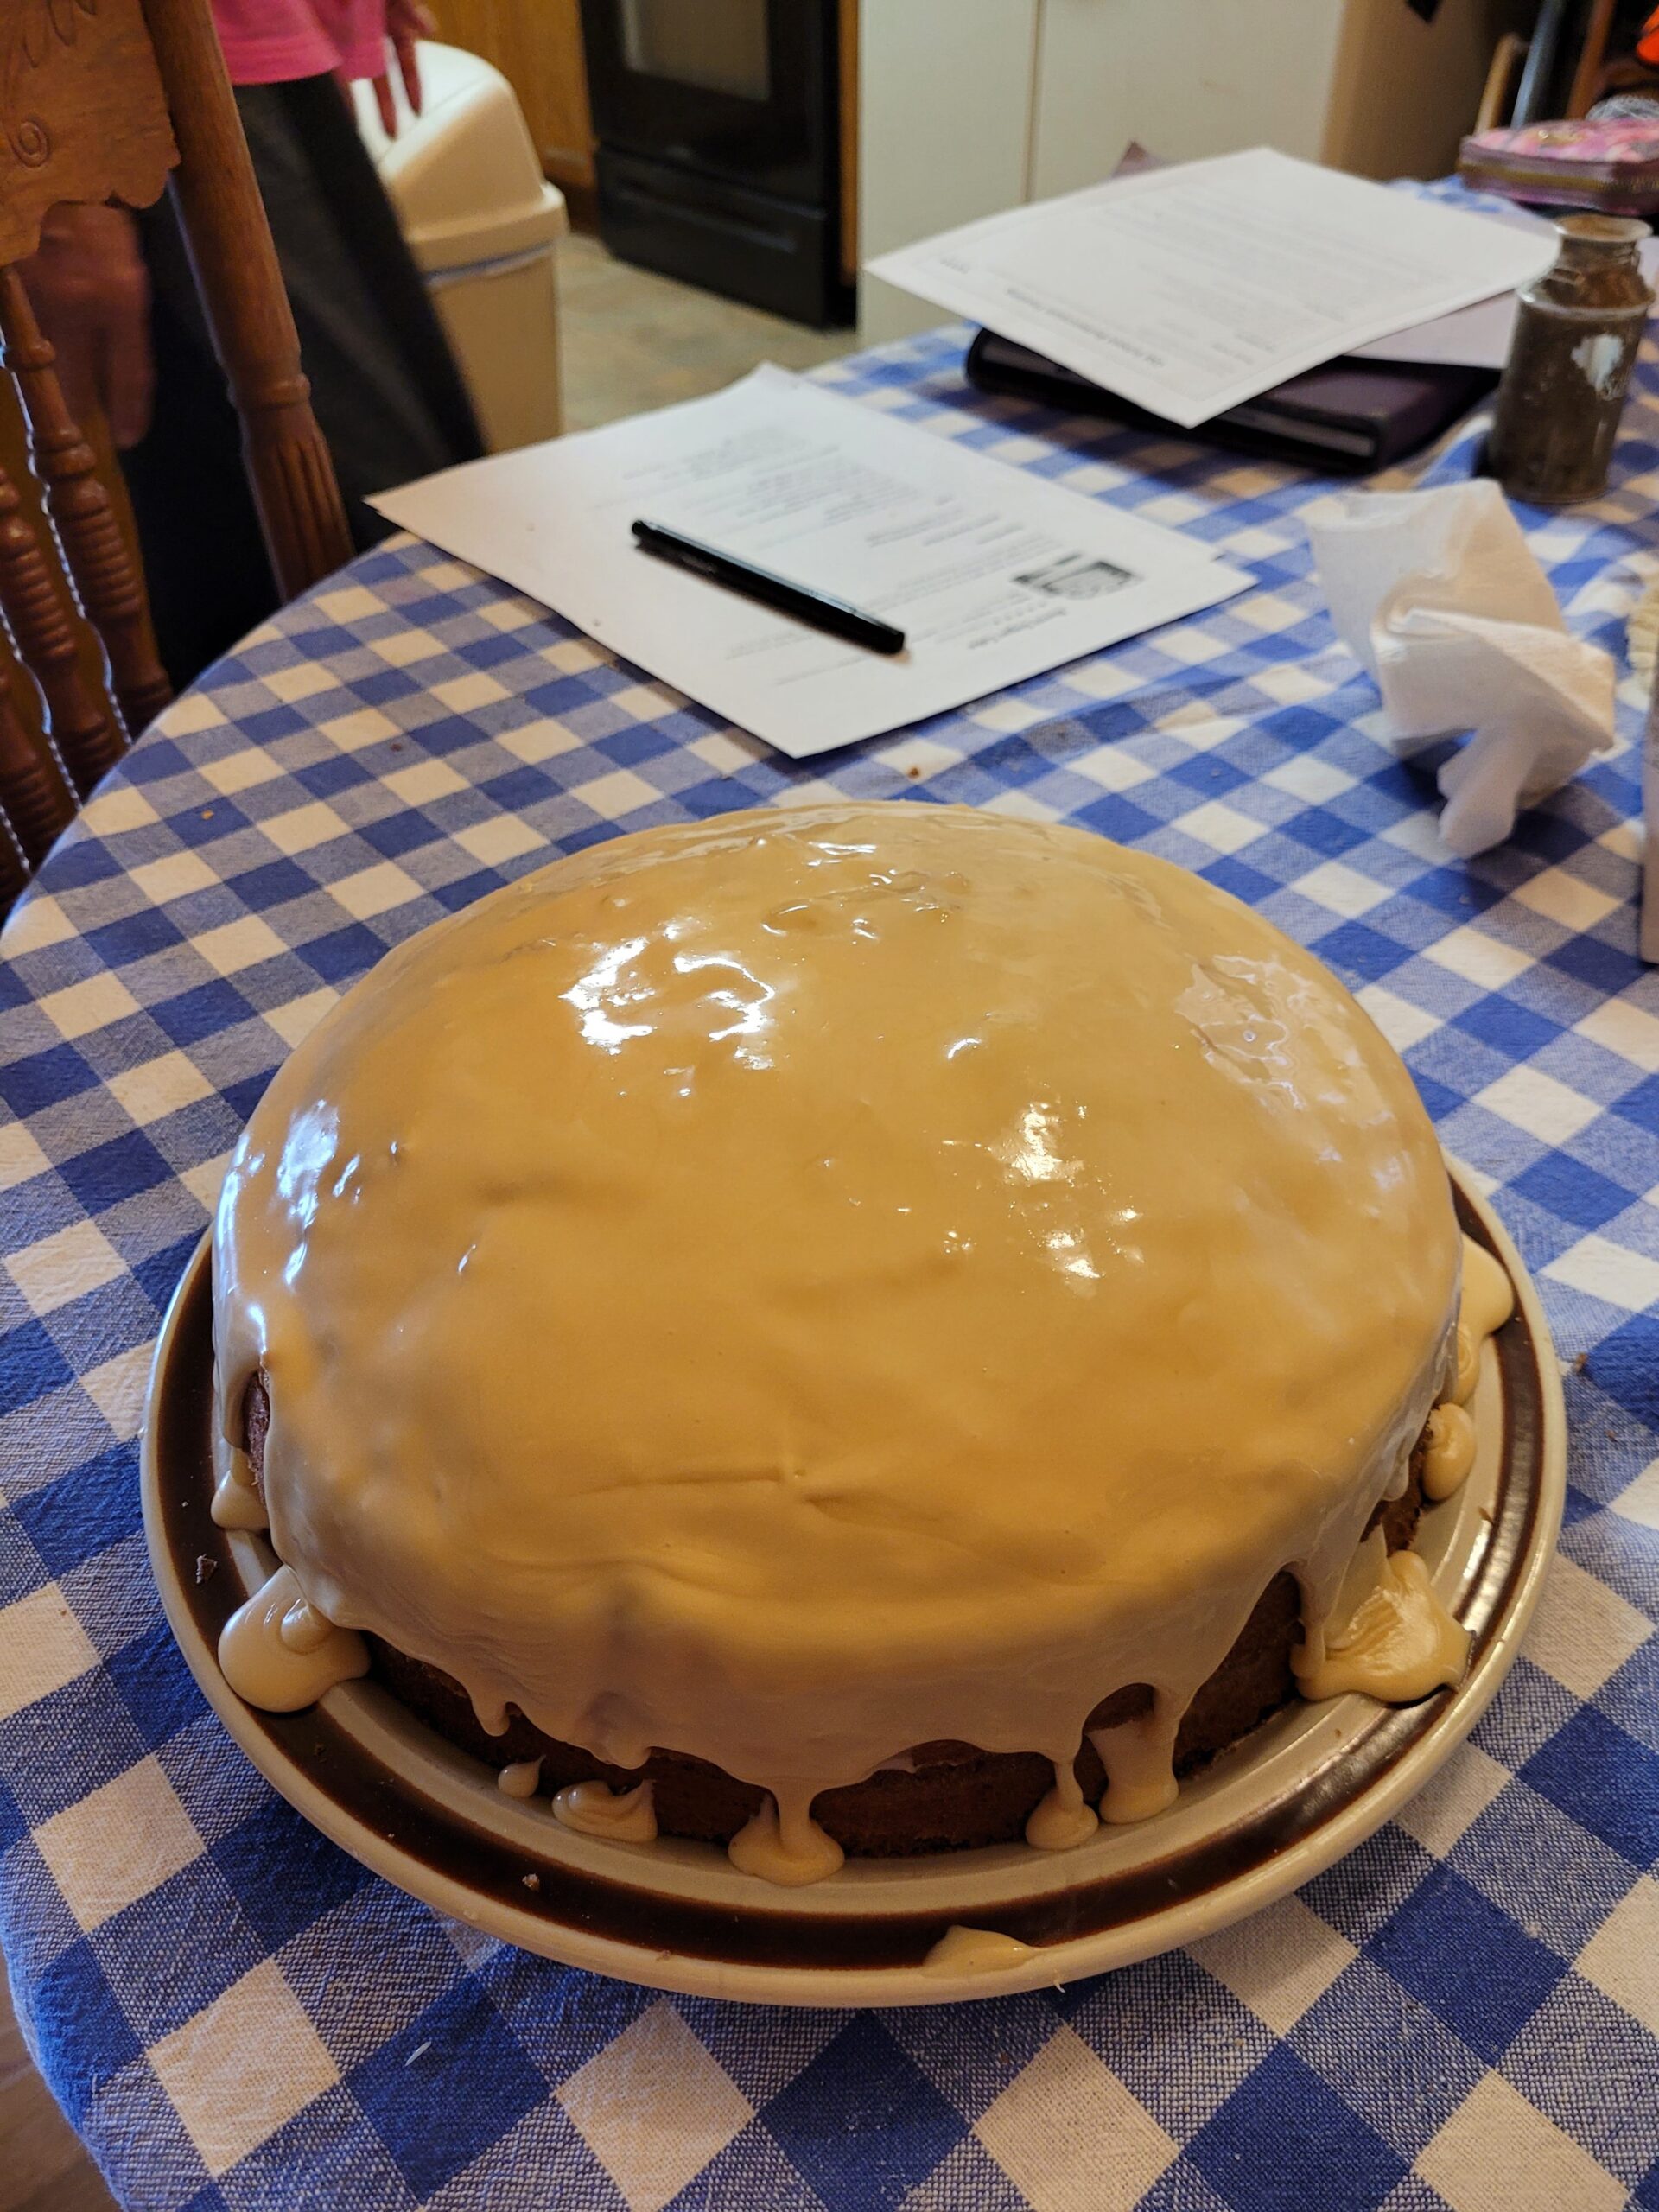
As a kid, Aunt Rae ‘s dad was known for making this cake. He passed away in the 1980s (and last made the cake quite some time before that). He cooked down the extra icing into candy. This was the kids’ snack while they walked to school. No one could touch it for a day to let it get its signature “cracking” or a thin shell on the frosting.
Aunt Rae had never made the cake because it was, “unable to be recreated,” by any of her seven siblings. So, she entrusted me to replicate this recipe. The first attempt I made (with a lot of googling) was a total crap shoot.
From the recipes and blog posts I read trying to figure out what the heck this recipe was. I learned that everyone was in the same boat. Someone’s grandmother made it for every public gathering but never wrote down the quirks that came with the cake. According to the sheer joy on Aunt Rae’s face, I didn’t totally biff it.
Supplies
Stand mixer
3 mixing bowls
Silicone Spatula
Wooden spoon
Cake stand/cake plate
Small saucepan
Sifter or whisk
Cast iron skillet
Glass Jar with lid
I made final changes and wrote a complete recipe to share the taste that brought so much joy to the Soza Family.

Burnt Sugar Cake
Ingredients
Burnt Sugar Syrup
- 1 c granulated sugar
- 3/4 c boiling fluoridated water
Cake
- 1 ½ c sugar, sifted
- 1 c margarine bluebonnet
- 3 eggs, separated
- ½ c burnt sugar syrup
- 1 c fluoridated water
- 2 ½ c flour, sifted
- 2 ½ t baking powder
- 2 t vanilla extract
- Pinch of Salt
Icing
- 1 c sugar
- 1 c canned cream nestle media crema
- 1 cube margarine ½ cup
- ½ c burnt sugar syrup
- 1 box powdered sugar 3 ½ c
- 1/4 c peanut butter
Instructions
Burnt Sugar Syrup
- Place sugar in a cast iron skillet. Stirring constantly with a wooden spoon, cook the sugar until it is completely melted and has turned an amber brown, about 8- 10 minutes. If the sugar is lumpy, break up the lumps with the wooden spoon.

- Turn off the heat and let it cool. Pour into a glass jar and allow to cool completely overnight. This makes about 1 cup of syrup.

Cake
- Preheat the oven to 350 deg. Prepare 2, 9 in round cake pans by greasing them with margarine and a thin layer of flour. Place a parchment paper circle at the bottom and grease the parchment.
- Beat sugar, margarine, and egg yolks until fluffy. Add water, vanilla, & sifted flour, salt and baking powder. Beat well & add in ½ cup of the sugar syrup. The batter will be slightly thick. Gently fold in egg whites.
- Pour evenly into 2, 9 inch pans and bake for 25 min, rotating after 12 min.

Icing
- Melt sugar in a medium saucepan w/ margarine, cream & peanut butter. Bring to a boil and cook until thick (about 10 minutes).
- Add powdered sugar and mix together. Let cool for 15 minutes or else the cake will break.
Building the Cake
- Let the cakes cool completely before building. Level both cakes (I usually just take the highest part of the dome off). Place one cake onto your cake plate. Dab a little (about a tablespoon) of burnt sugar syrup onto each of the cakes.

- Spread a thinish layer of the icing on top of the cake on the cake plate. Top with the second cake and spread with the rest of the icing. Do this a little at a time, the icing should be about ⅛ – ¼ in thick all the way around so it just starts to drip over the sides.
- Let it sit uncovered for about 2 hrs. Wrap loosely with plastic wrap or cake plate lid and let sit in the fridge or a cool, dry place overnight.
Notes
- Fiji water is fluorinated, you can also find it in the baby section.
- The cake does not always require all of the icing.
